
 |
 |
 |
 |
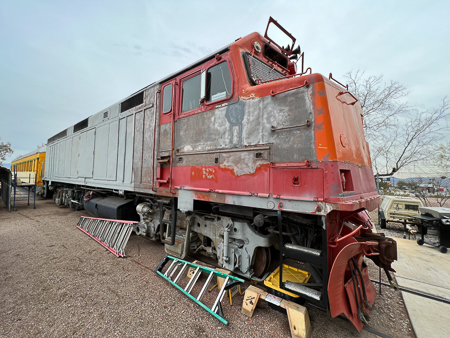
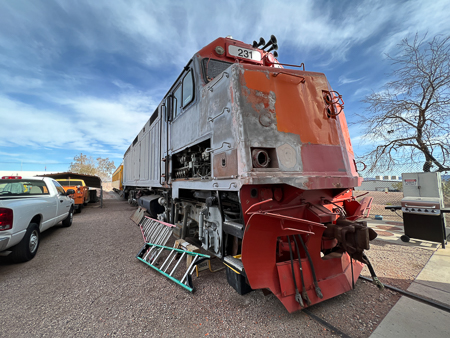
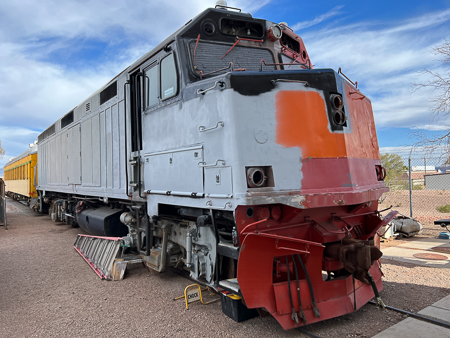
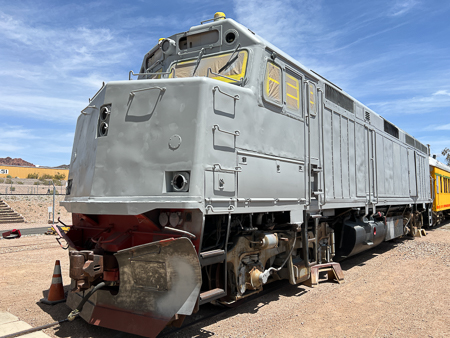
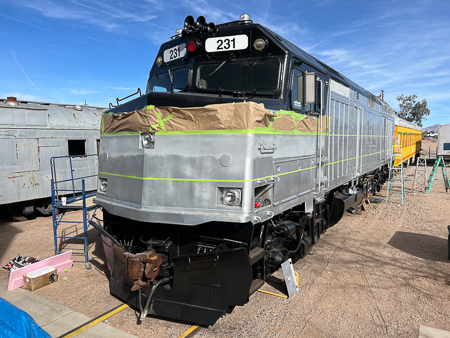
2023-2024 - Repainting F40 231 back to Amtrak colors
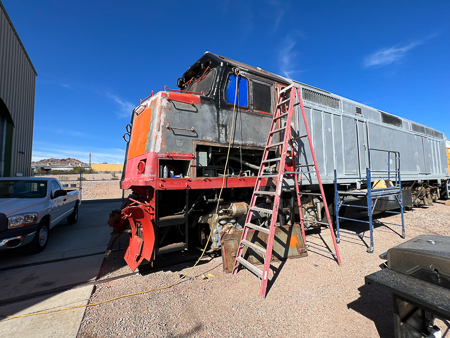
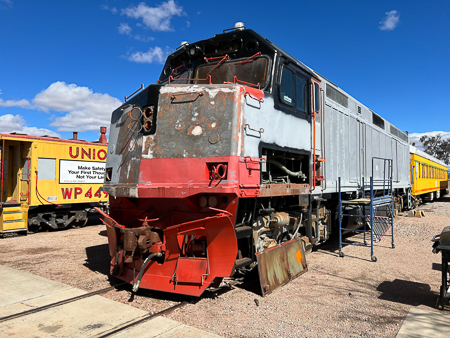
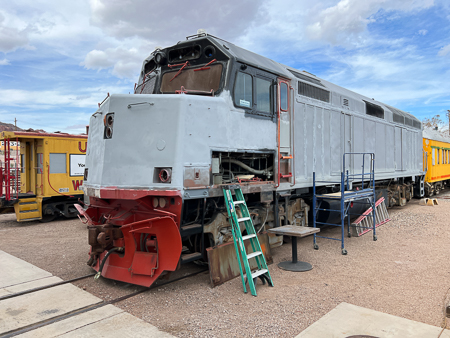
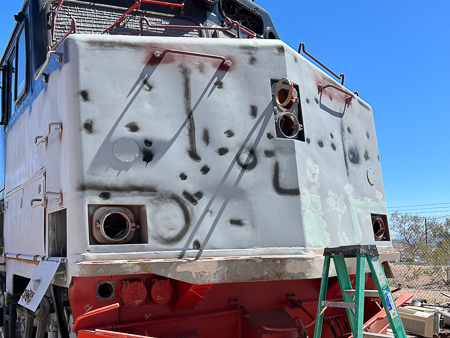
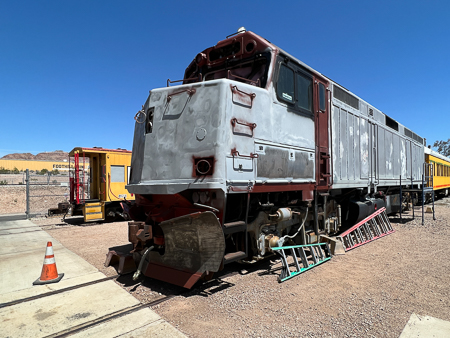
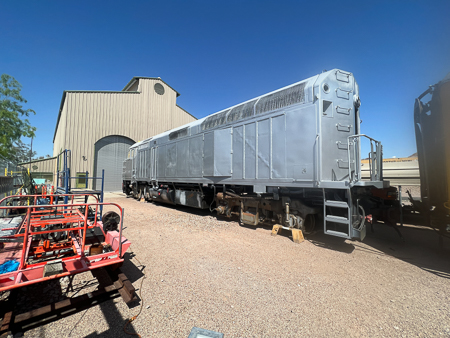
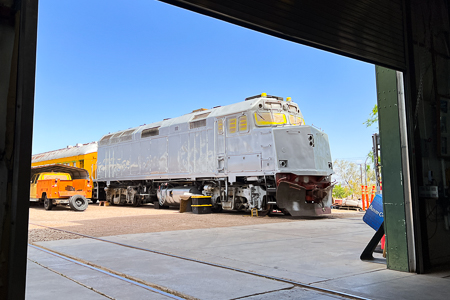
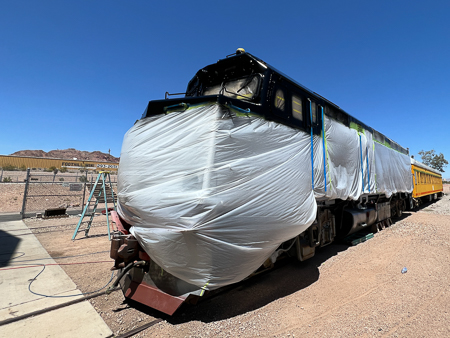
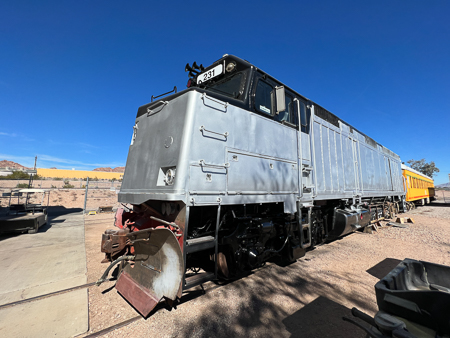
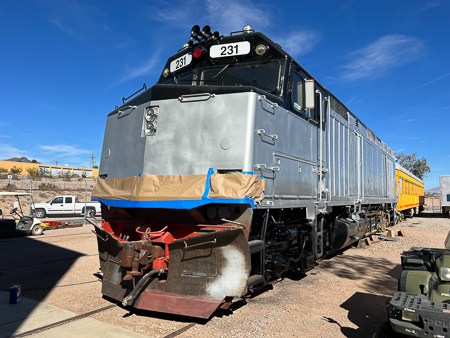
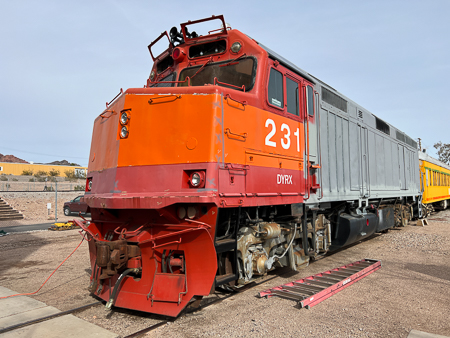 How #231 looked at beginning of new year |
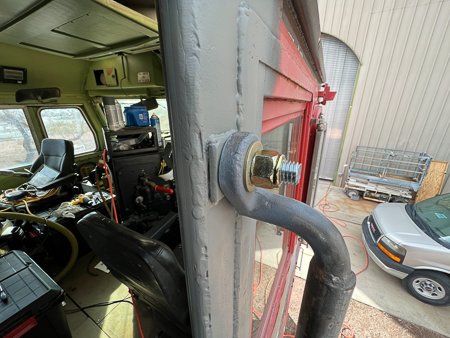
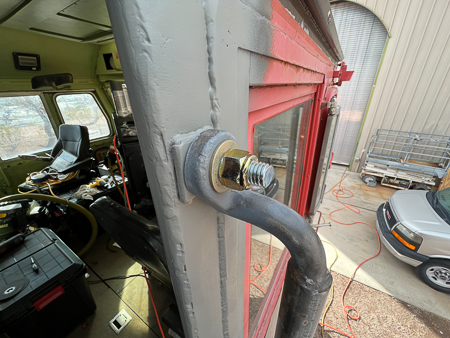
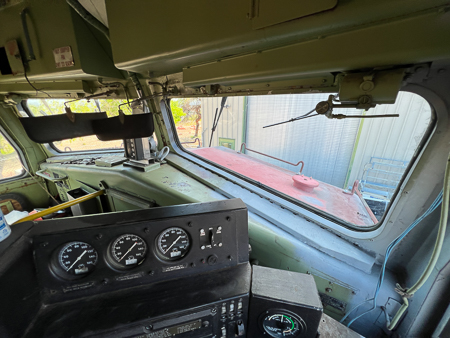
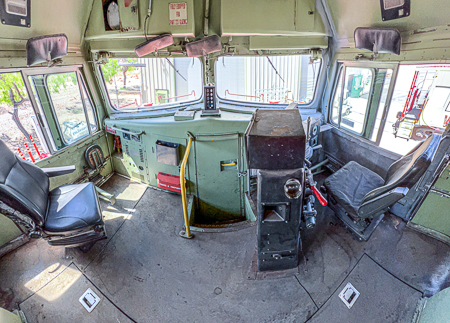
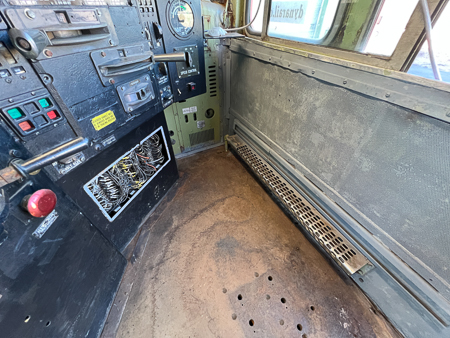 Cab floor and walls cleaned up |
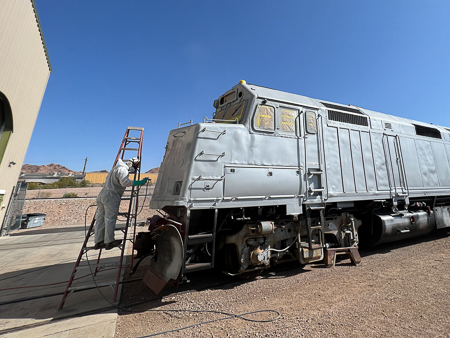
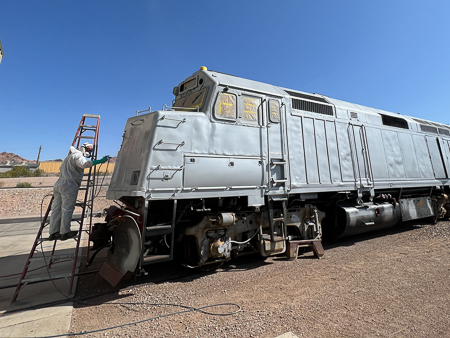
 Needlescaling has commenced |
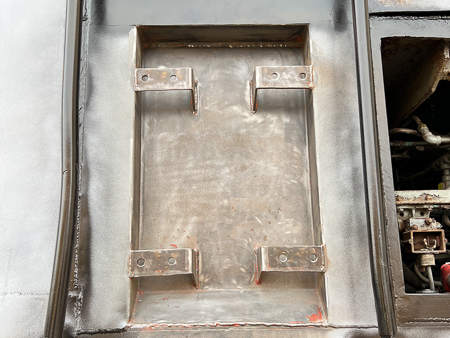
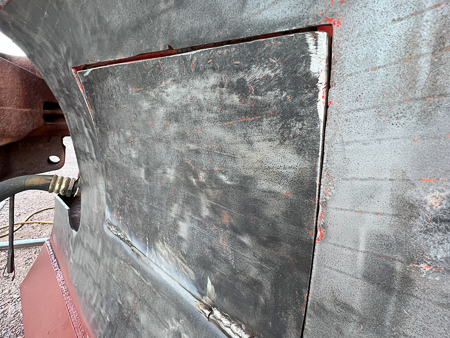
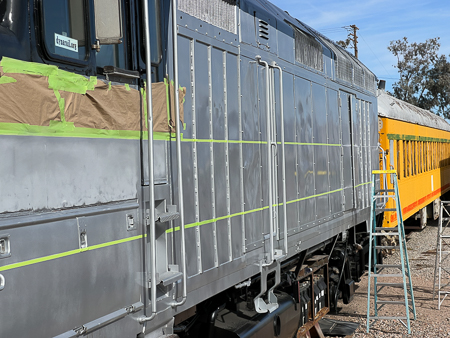
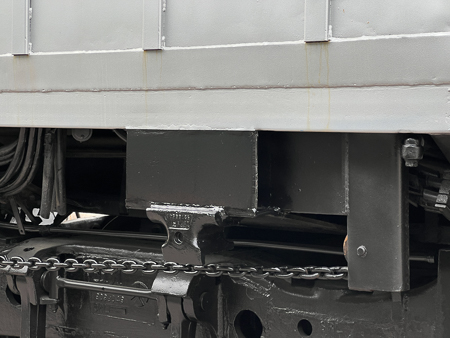
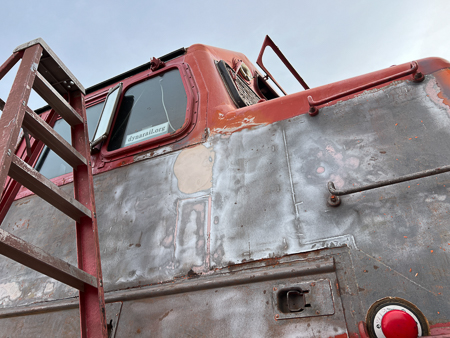 Weld lines visible showing construction of F40 locomotive |
 More needlescaling |
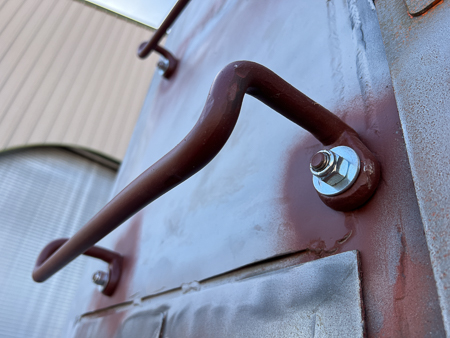
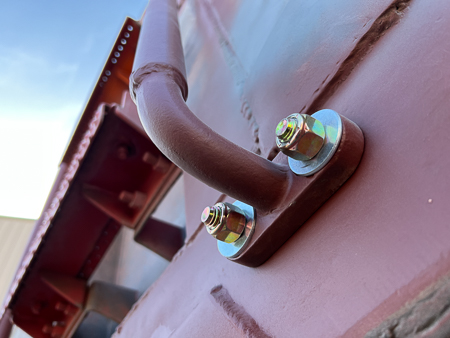
 Cleaned up handholds and installed new fasteners |
 Cleaned up handholds and installed new fasteners |
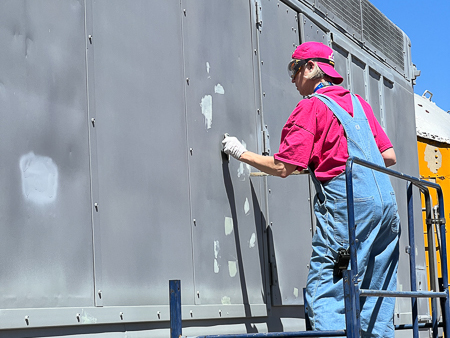
 Needle; wirewheel; bondo; sand; primer; bondo; sand; primer; bondo, etc. |
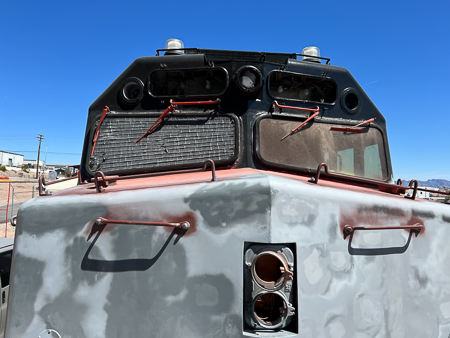
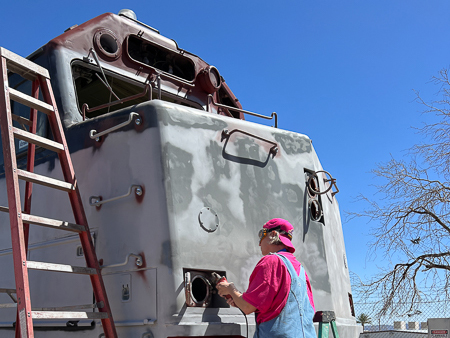
 Working our way around the front end |
 Steps removed and cleaned up |
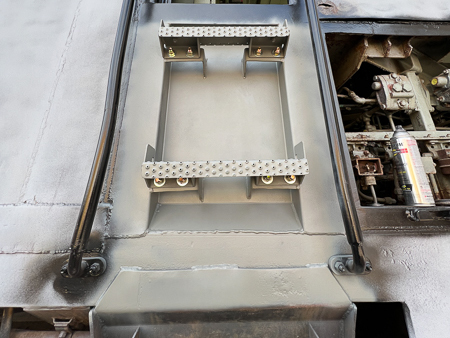 Steps reinstalled with new fasteners |
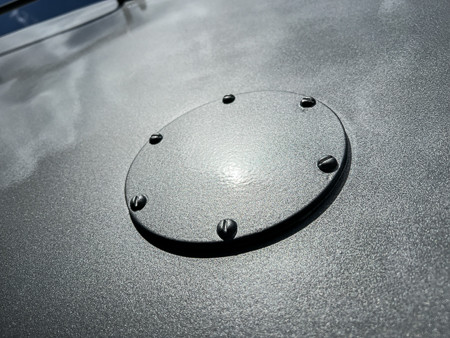
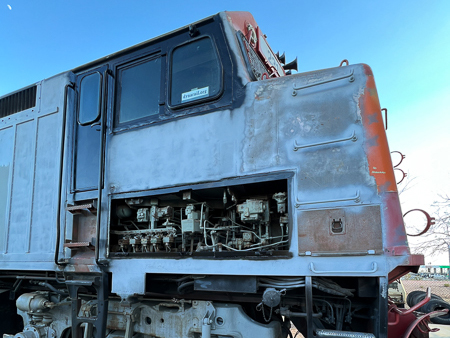 Cleaning up access hatches |
 Prep work continues |
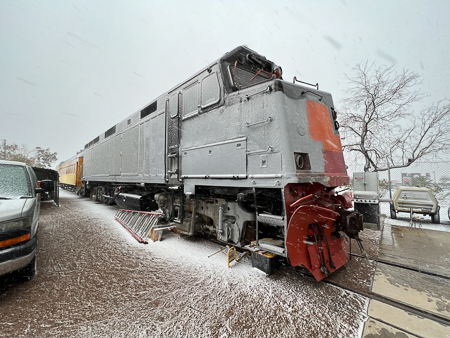 Snowy February halts prep work |
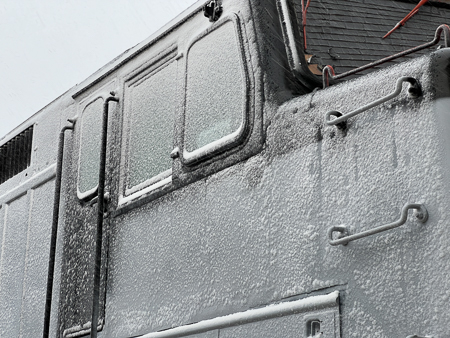 Sideways snow |
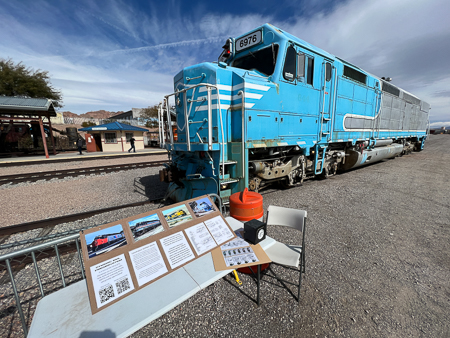
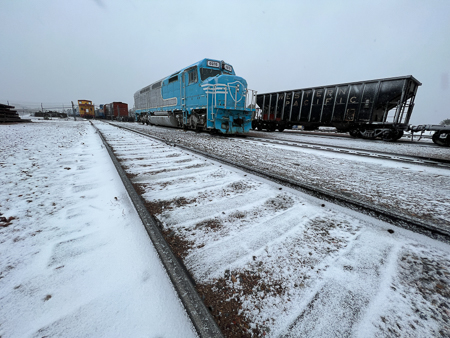 6976 hanging out in the snow at Boulder City |
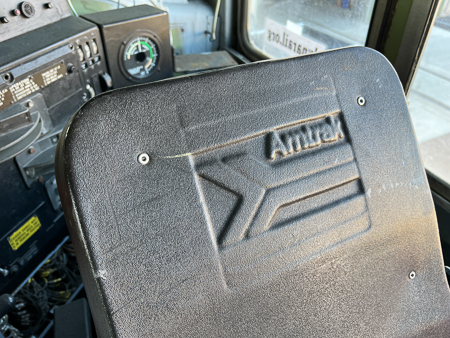 231's engineer seat |
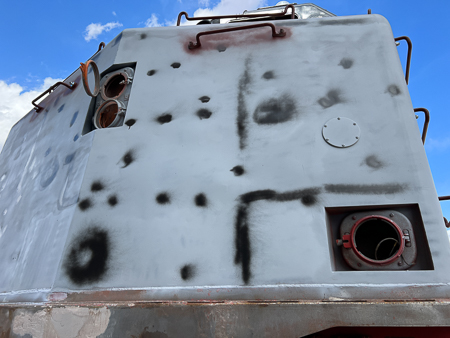
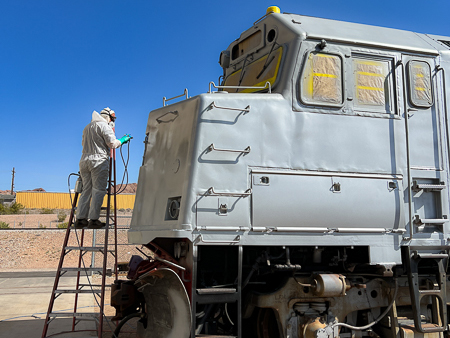
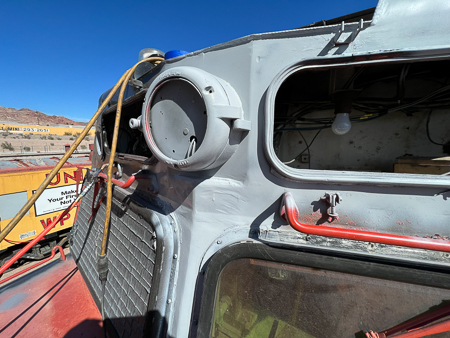 Cleaning up area around red strobe housing |
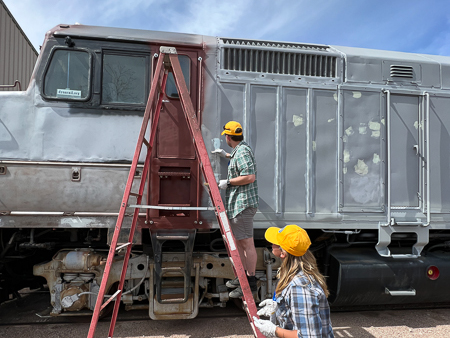
 text Work progresses around to the left side |
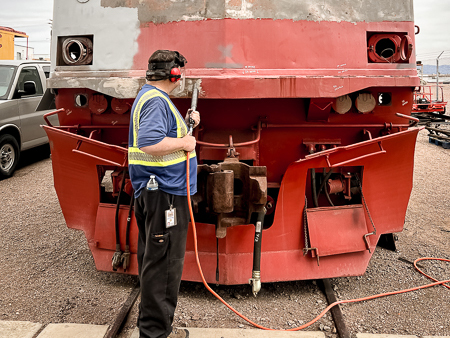 Larry needlescaling the front end |
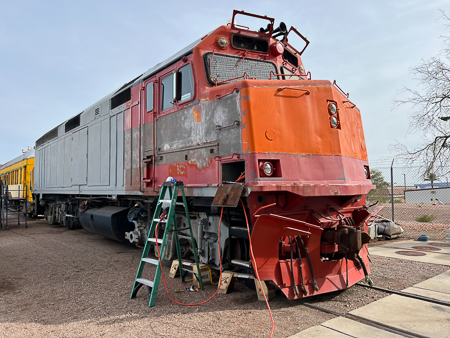
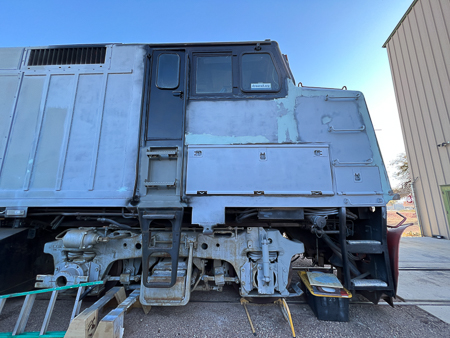
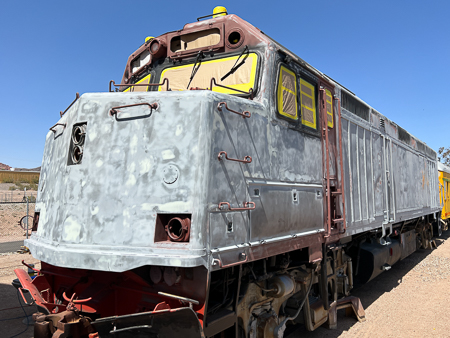
 All of the orange is finally gone! |
 Signage for NSRM open house in March |
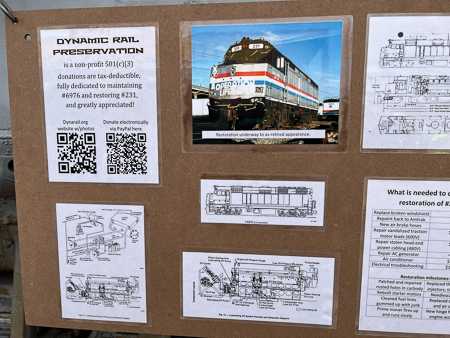 Signage for NSRM open house in March |
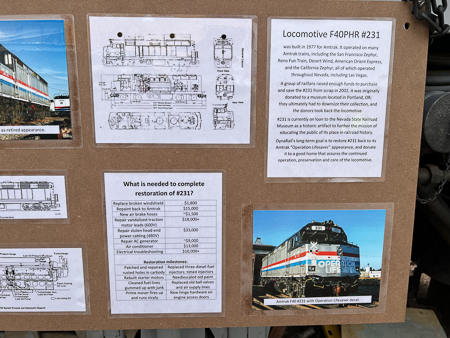 Signage for NSRM open house in March |
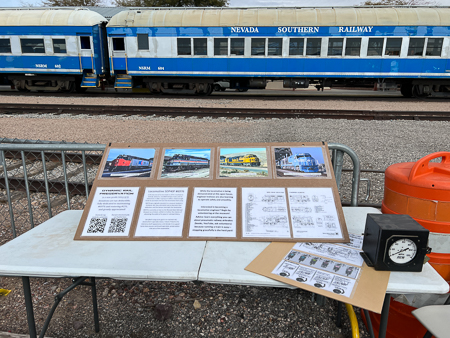 Signage for NSRM open house in March |
 Signage for NSRM open house in March |
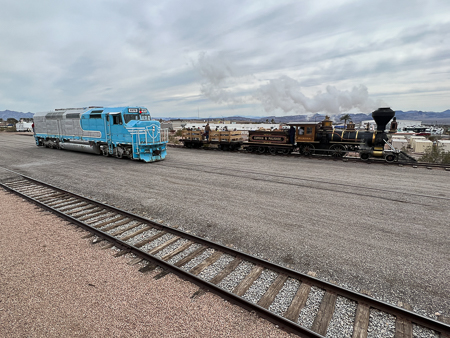 6976 and Eureka steam locomotive operating side-by-side at open house |
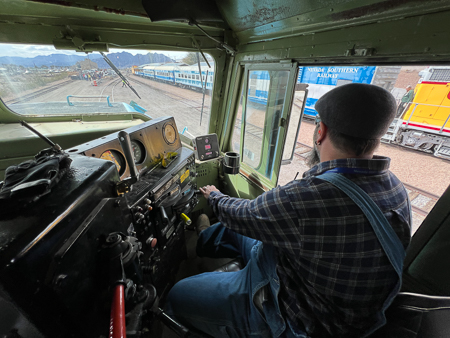 Steve S. operating 6976 during open house |
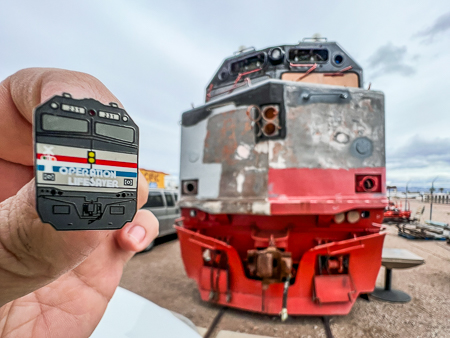 Lapel pin of 231 for volunteers |
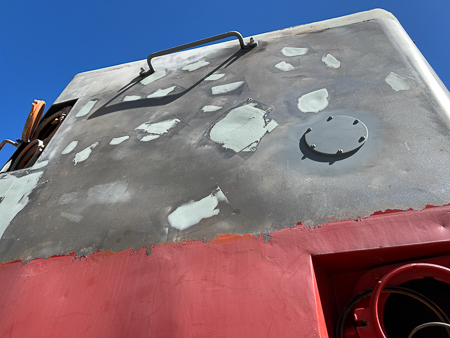 Bondo bondo bondo |
 Primer, then more bondo |
 Bondo work continues |
 Areas marked for additional bondo work |
 Bondo work continues |
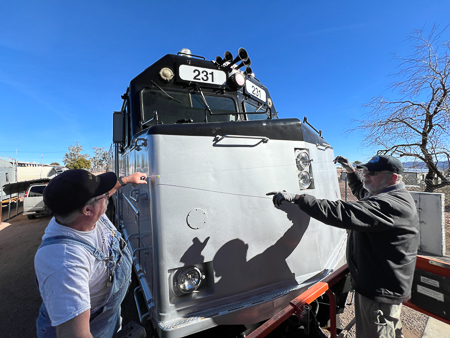
 Sunlight at low angle helps identify additional work areas |
 Little by little, the nose becomes smoother |
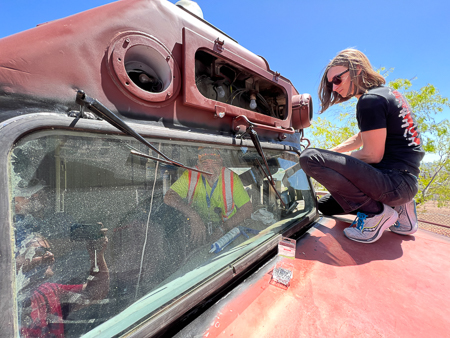
 Vandalized windshield removed |
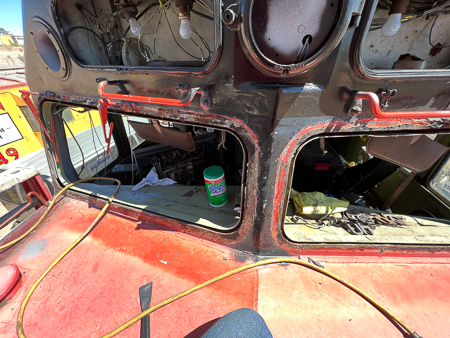 Windshield area undergoing cleanup work |
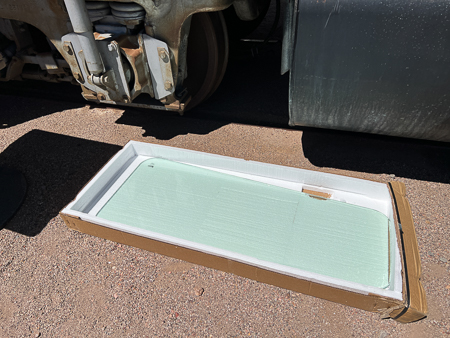 New windshields have arrived! |
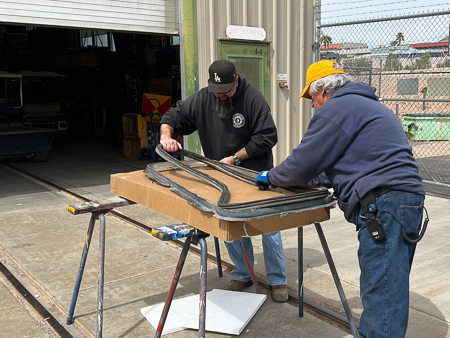 Steve and Harris prepare windshield frame |
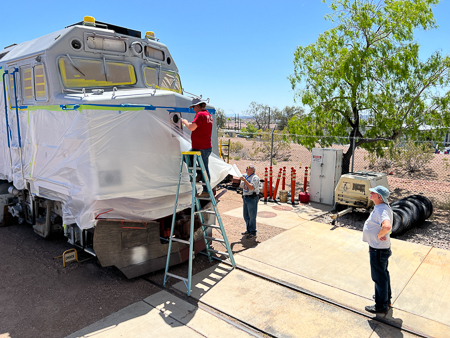
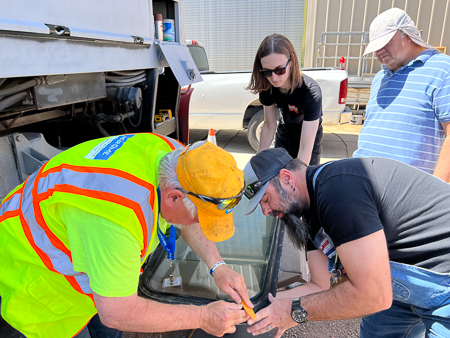 Harris and Steve, along with Andrew and Larry, installing windshield |
 Harris and Andrew installing windshield |
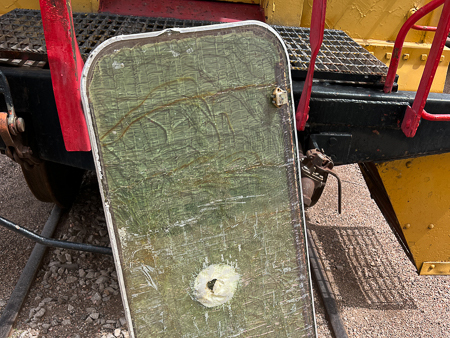
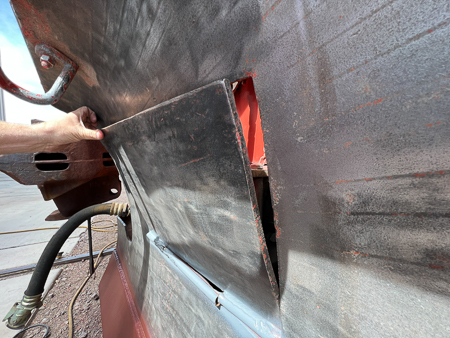 MU hose access door straightened out over 20 years, and won't close |
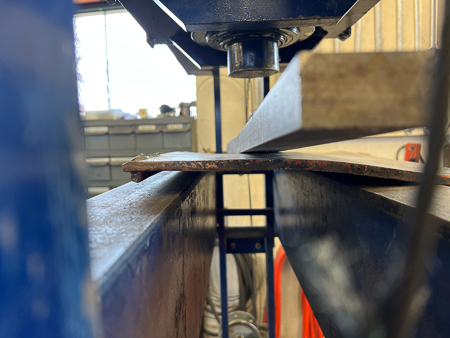 Door removed and placed under hydraulic press |
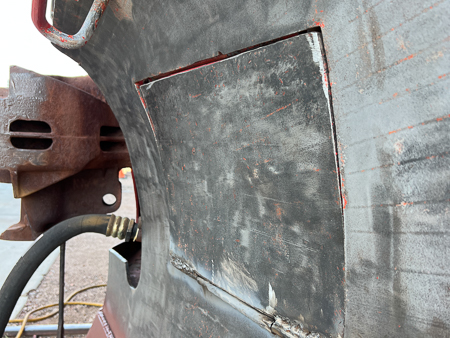 MU access door welded back onto plow and fits nicely |
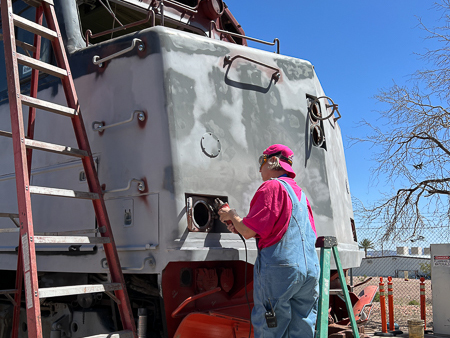 Angela prepping ditchlight housing for paint |
 Angela applying bondo to carbody |
 Angela prepping ditchlight housing for paint |
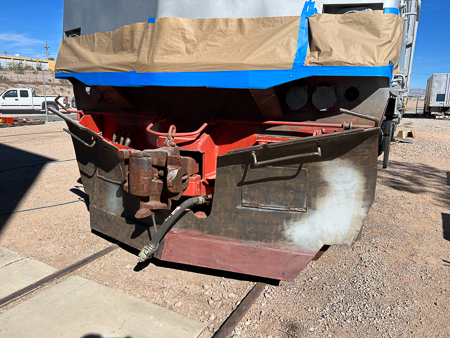
 Plow being cleaned up and prepped for paint |
 Grab irons removed, cleaned up and fastened with new hardware |
 Handhold on fireman side cleaned up and fastened |
 Alec applying bondo to weld seams behind the cab |
 Isabella applying bondo to the carbody |
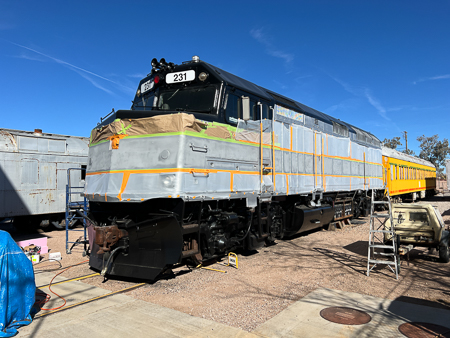
 A ton of progress since the beginning of the year! |
 New windshields in place |
 Windshield's are so clean, they look like they're not there! |
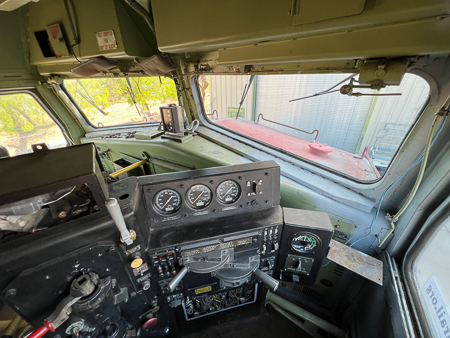
 Wide panorama shot of the cab |
 Cab controls undergoing some TLC |
 One final sanding of the carbody before primer |
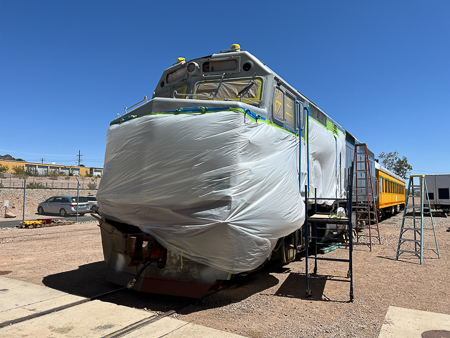
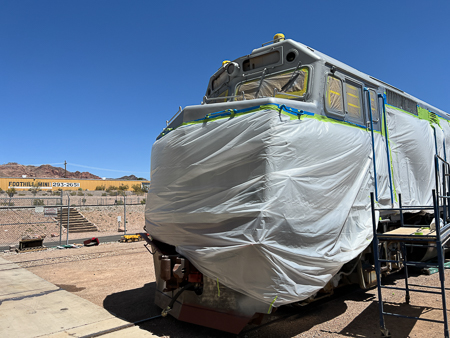
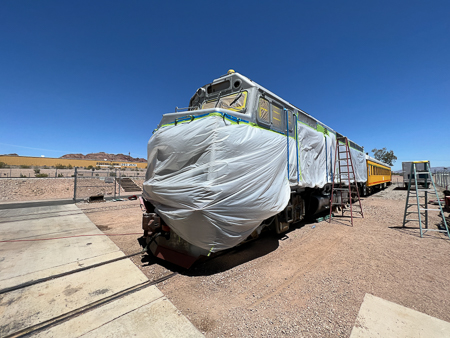
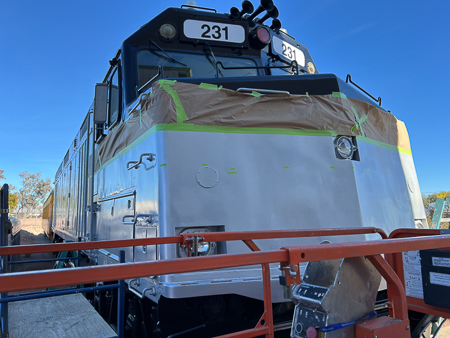
 Glass masked; locomotive ready for primer |
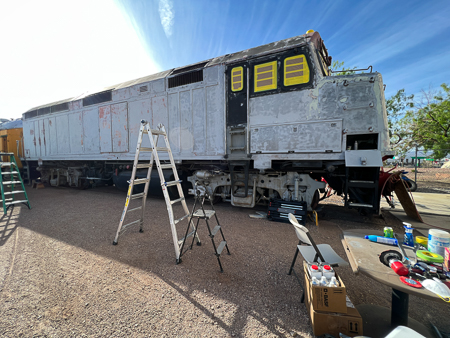 Getting ready for primer |
 Primer on |
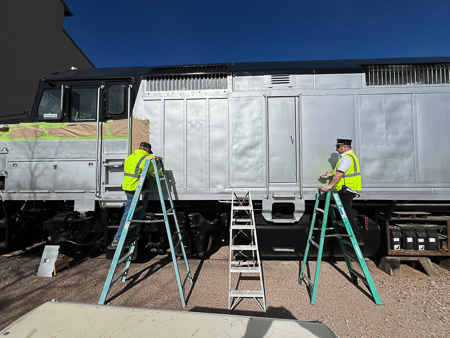
 Christopher spraying aluminum silver to carbody |
 Christopher spraying aluminum silver to carbody |
 Christopher spraying aluminum silver to carbody |
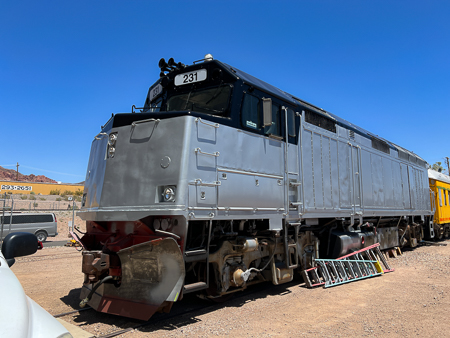
 Aluminum complete! |
 Fresh double-coat of aluminum silver |
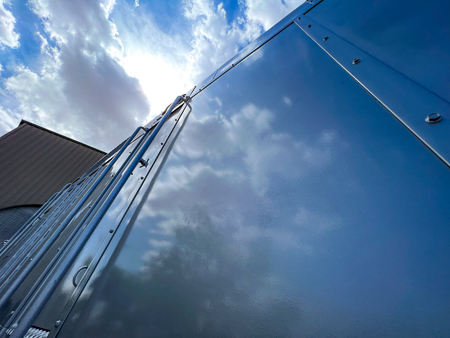
 Texture is beautiful |
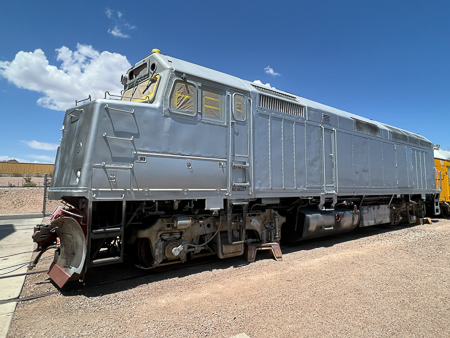
 Nice smooth silver! |
 Smooth silver |
 Silver has cured, ready for black |
 Christopher, Harris and Johnny helping with masking for black paint |
 Masking for black paint |
 Masking for black paint |
 Masking for black paint |
 Black paint |
 Black paint |
 Black paint |
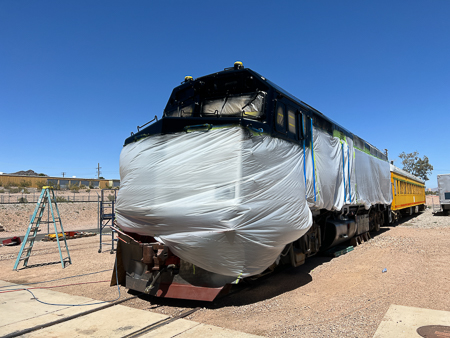
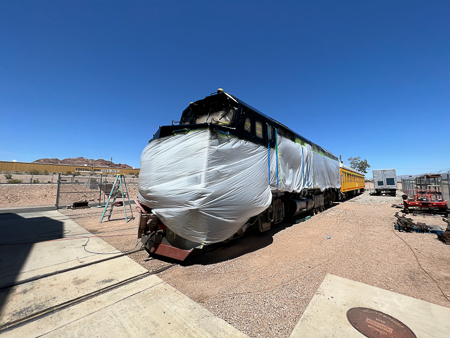
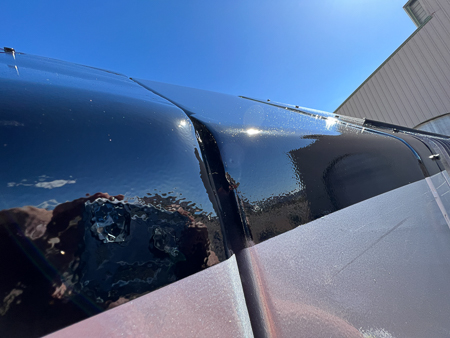 Finish look of black paint on roofline |
 Slowly yet surely starting to look like Amtrak |
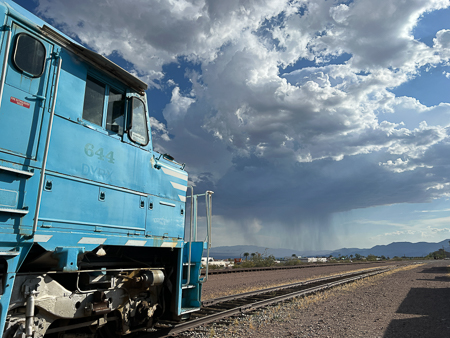 6976 hanging out near monsoonal storms |
 Mike replumbing the pneumatic bell |
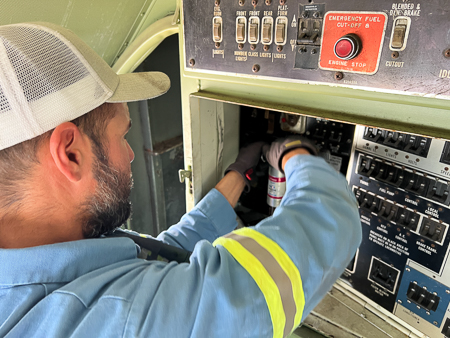 Mike removing defective 250A aux. generator breaker |
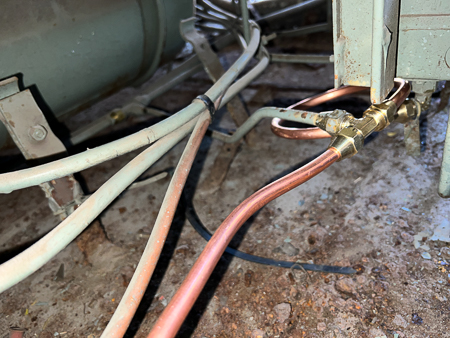 New plumbing under the cab floor |
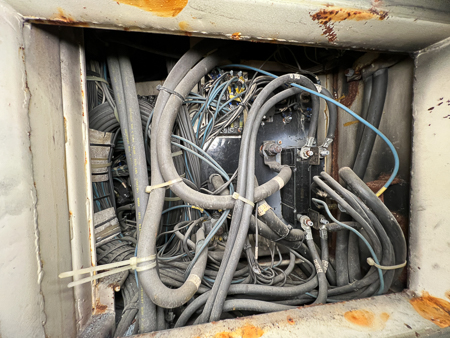 Behind the electrical cabinet |
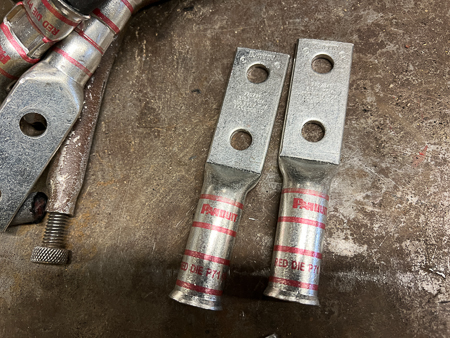 New lugs for battery leads |
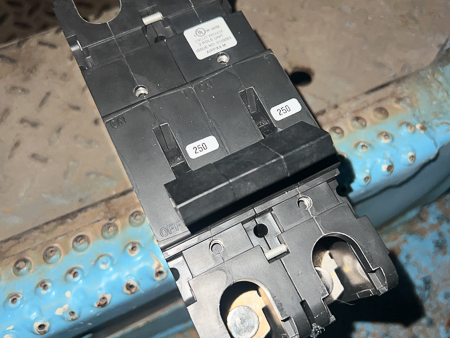 New 250A circuit breaker for aux. generator |
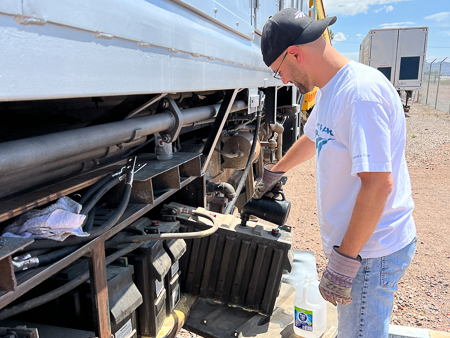 Matt refilling distilled water |
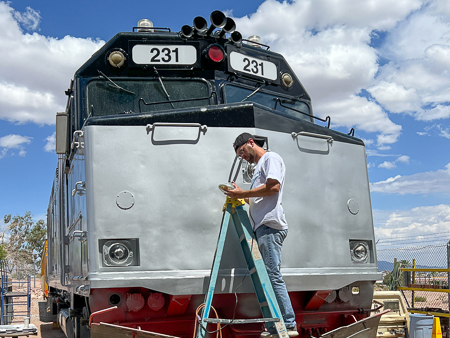 Matt cleaning up headlights |
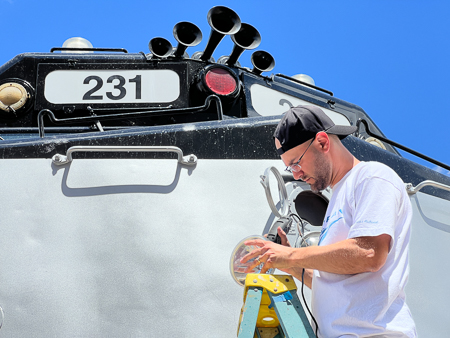 Matt reinstalling headlights |
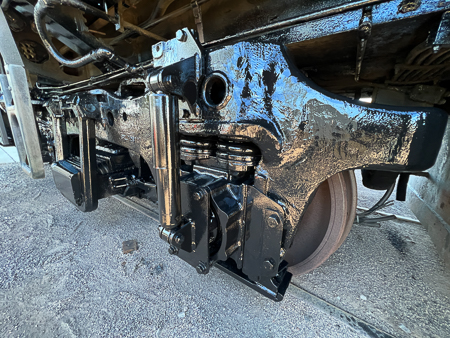 Trucks with brand new coat of black paint |
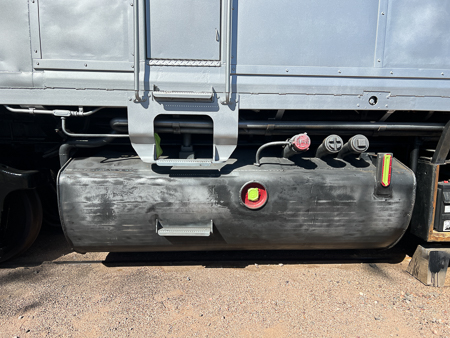
 Finish look on fuel tank |
 Truck and automatic-train-stop bracket with new shiny paint |
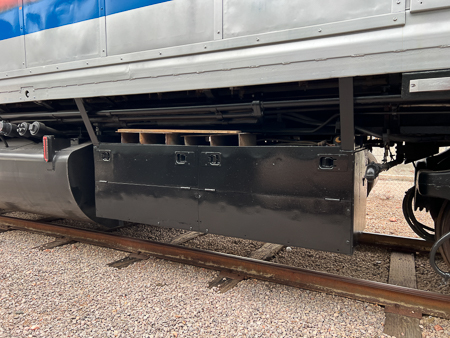
 Plow back-side painted first |
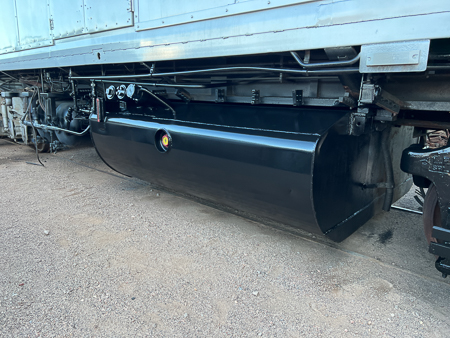
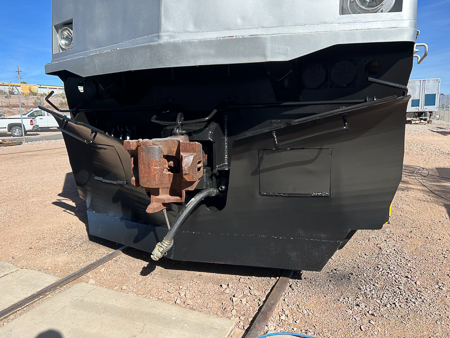 Plow with three coats of black paint |
 Main reservoir tanks in fresh coat of black paint |
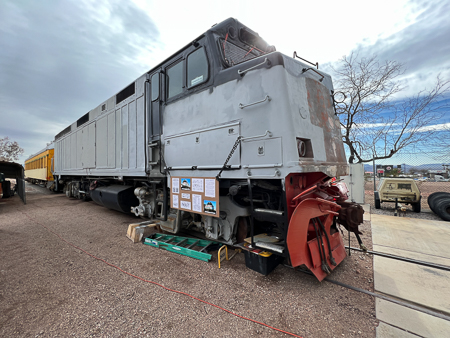
 At beginning of Year 2024 |
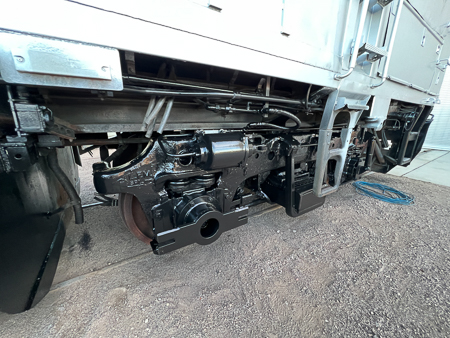
 Prepping undercarriage for black paint |
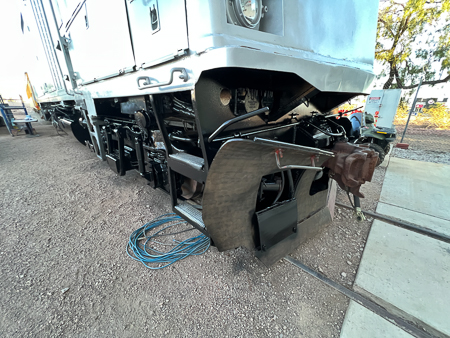
 Prepping plow and undercarriage |
 Prepping fuel tank |
 Fresh paint on lead and rear trucks |
 Interior of plow area |
 Fresh paint on fuel tank! |
 Plow gets painted |
 Ready for stripes |
 Greg and Lew lining up and chalking across the front |
 Close-up showing how lumpy the front is! |
 Masking and prepping |
 Al and Claudio chalk lining the sides |
 Front and sides lined up for Phase III paint |
 Prepping for Phase III paint |
 Ready to spray |
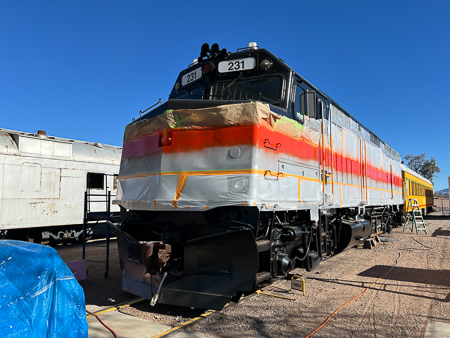 Amtrak Red goes on first |
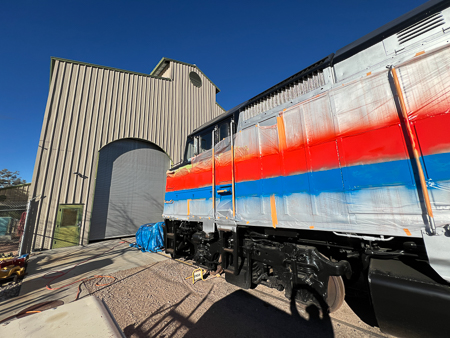 Amtrak blue follows behind |
 Masking removed |
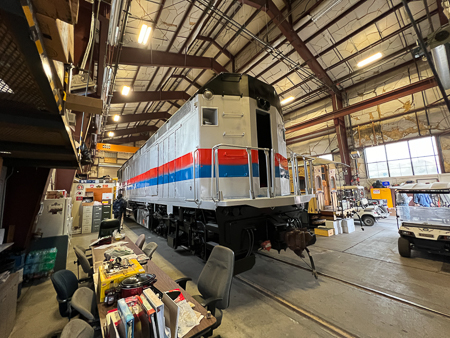 In the shop |
 In the shop to dry |
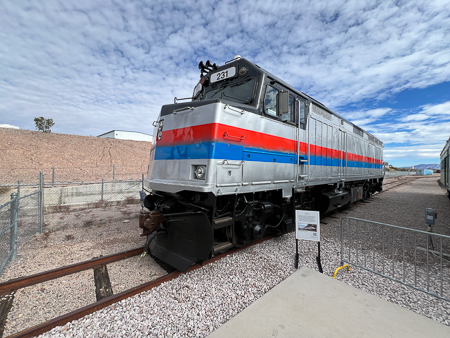 On the display track by platform |
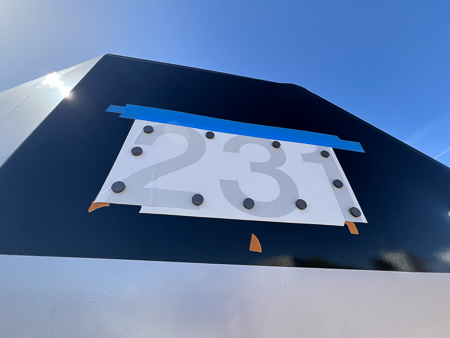 Positioning the new decals |
 Rear carbody number decal |
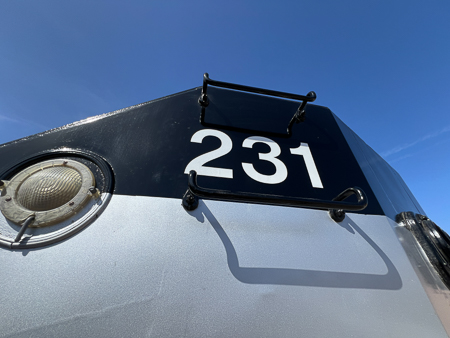
 Number decals in place |
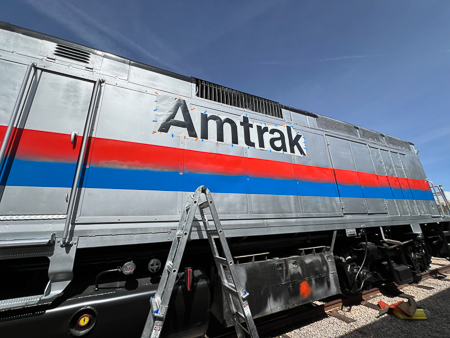 Positioning the Amtrak logo on side |
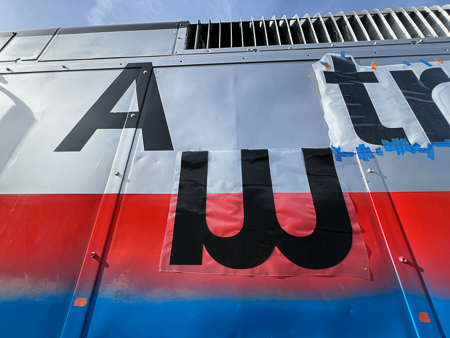 Lined up and placing one letter at a time |
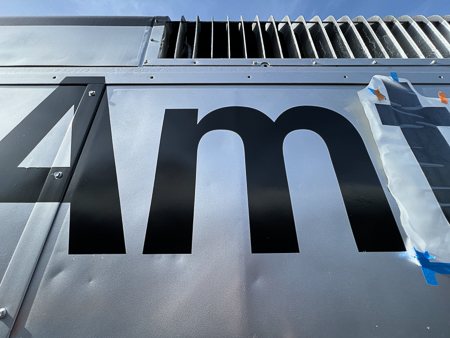 Letter placed |
 Lining up and placing letters |
 Prepping for white stripe |
 White stripe applied and drying |
 Black stripe across bottom applied |
 Battery box painted |
 Masking off for white stripe |
 First white stripe down, rest to follow |
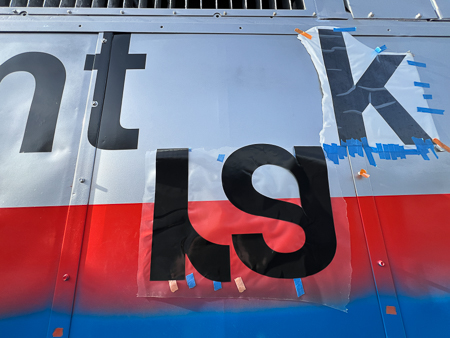
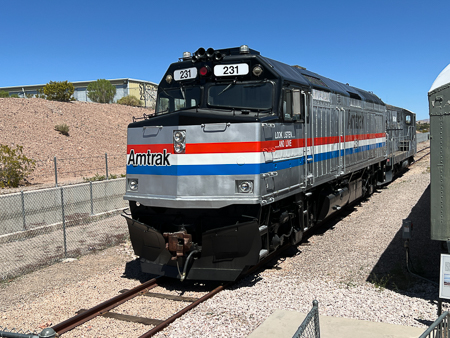
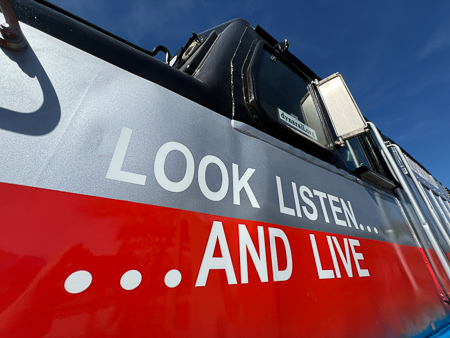 Look Listen Live decals applied |
 New Look Listen Live decals |
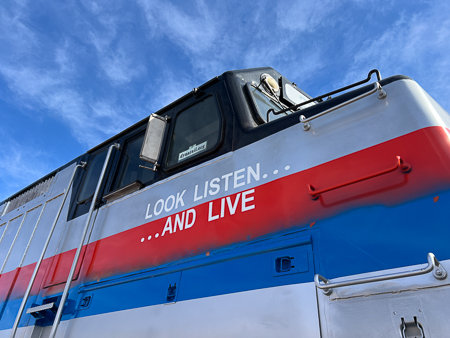 New Look Listen Live decals |
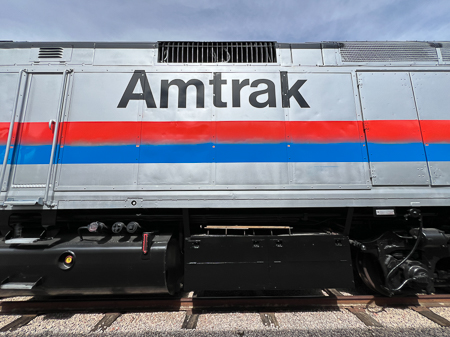 New Amtrak decal and battery box paint |
 Masking for white stripe |
 White stripe painted instead of decal to prevent corrosion |
 White stripe in progrss |
 White stripe drying |
 Applying numeral decals |
 Numerals applied |
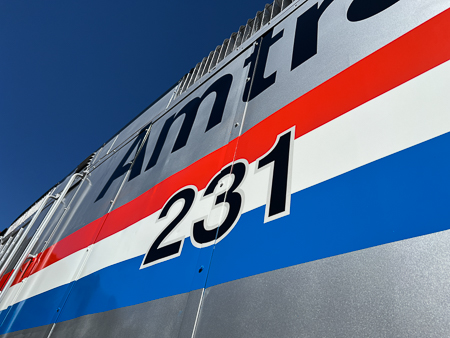 Numerals applied |
 Continuing remainder of white stripe |
 Continuing remainder of white stripe |
 Continuing remainder of white stripe |
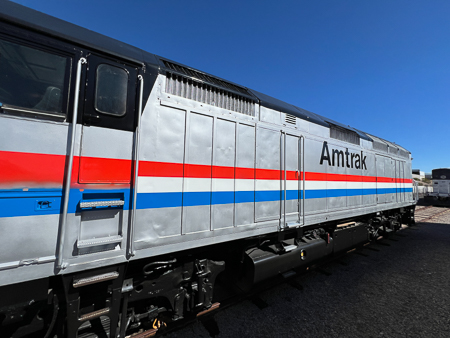
 White stripe complete! |
 Magnetic Amtrak decal for that early 1990s appearance |
 Magnetic decal on front |
 How 231 appeared in the early 1990s. |
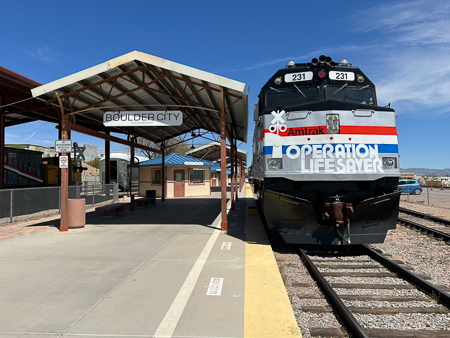
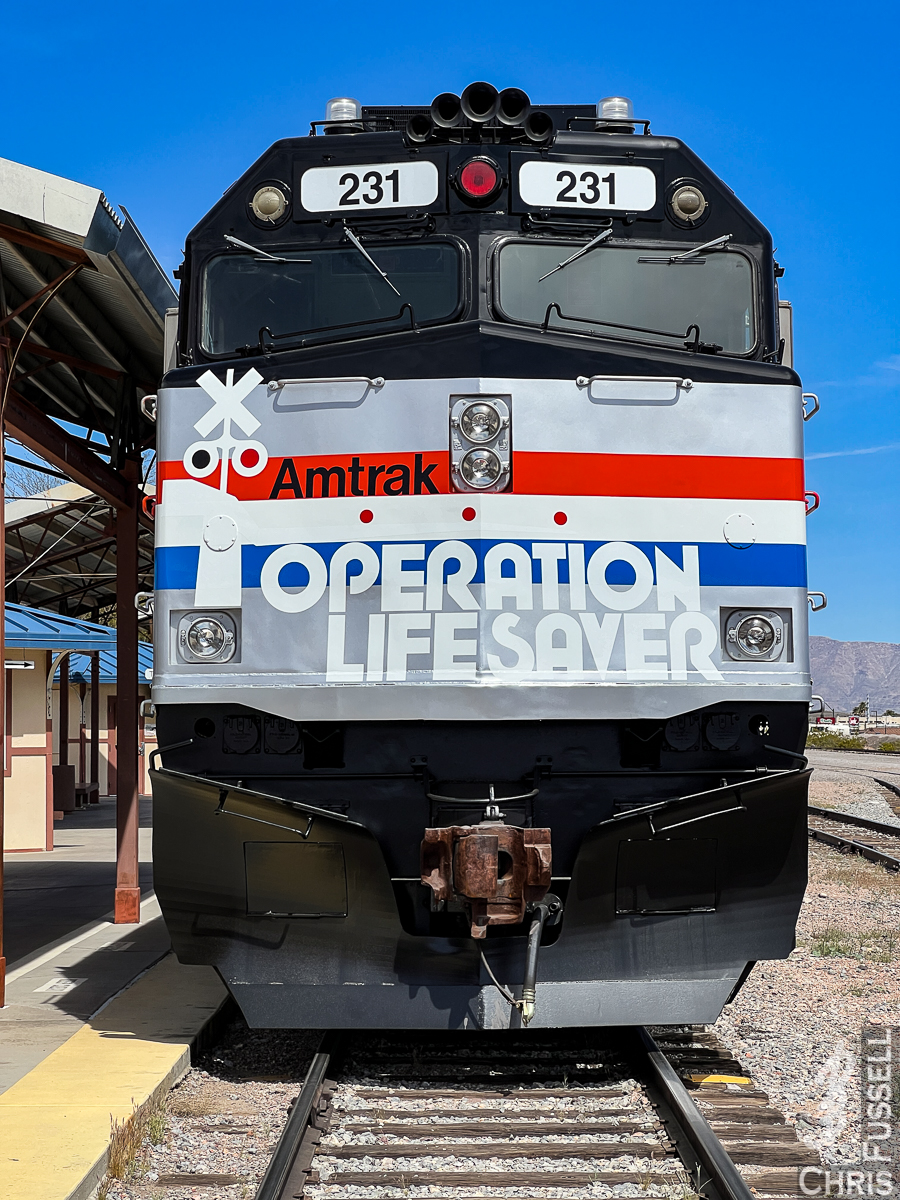
 Applying Operation Lifesaver decals |
 Applying Operation Lifesaver decals |
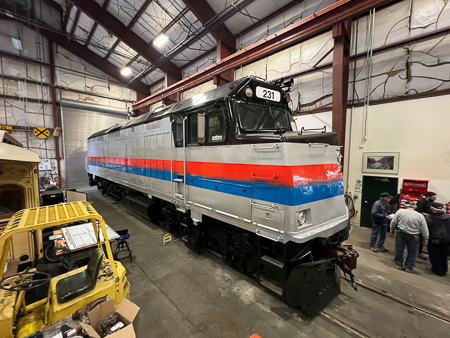
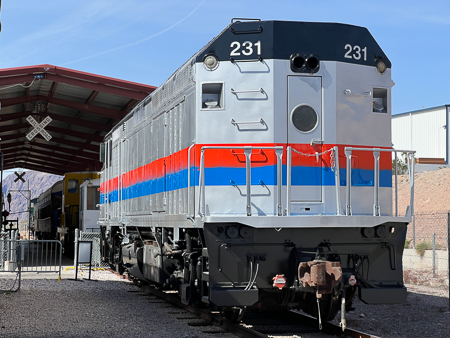
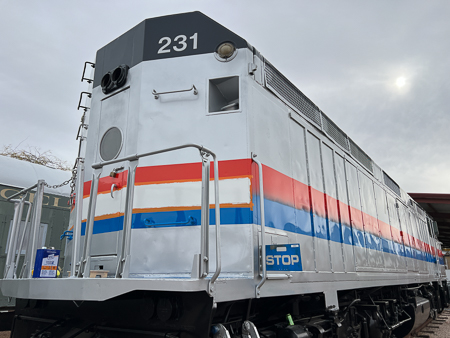
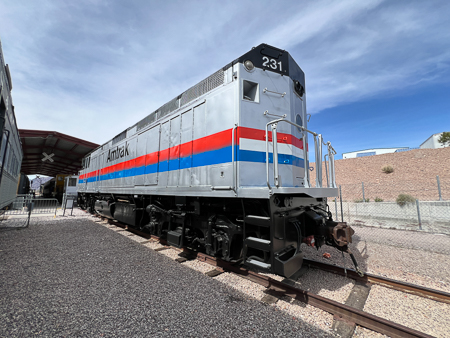
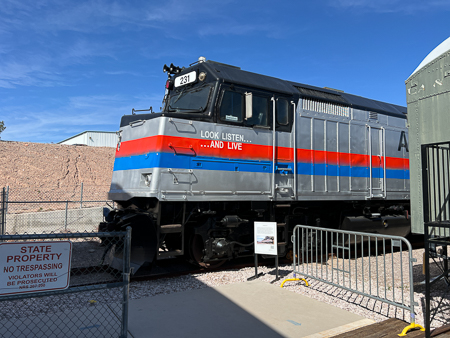
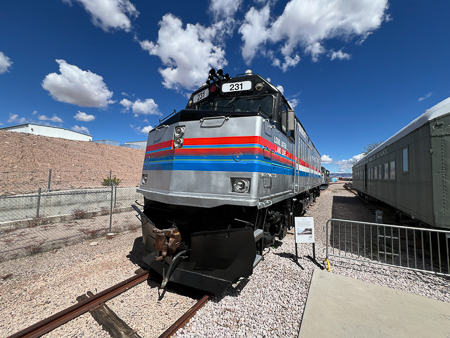
 Amtrak 231 Operation Lifesaver locomotive! |
 Amtrak 231 |
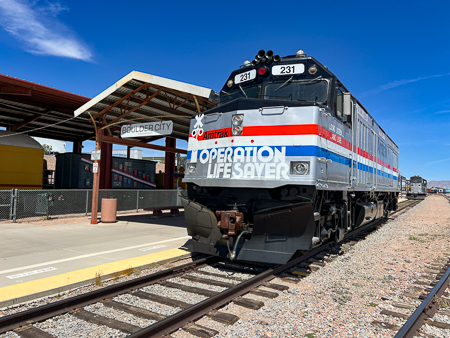 Amtrak 231 |
 Amtrak 231 |
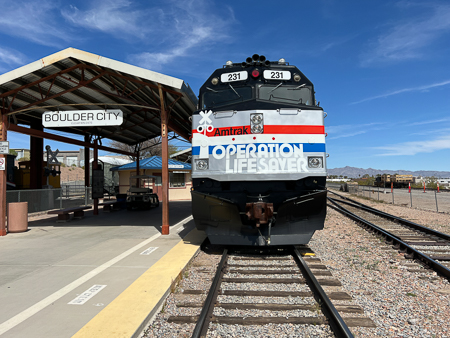 Amtrak 231 |
 |
||